


2–5 Hour Cab Lights Install for Trucks: Measurement First, Leak Proof
If you’re keeping the truck, wire it in. A hardwired cab lights install gives you a permanent, factory-look result and takes roughly 2 to 5 hours depending on your headliner design and whether you’re drilling five lights or just replacing worn ones. The job runs measure, drop the headliner, drill and mount, wire on a fused circuit, seal, and test. If the truck is leased or you just want a weekend look, an adhesive wireless kit skips the drilling entirely.
TL;DR:
- Using a wired installation provides a permanent, factory-like finish but takes approximately two to five hours, depending on your cab design.
- Proper measurement, marking, and confirming layout before drilling are critical to avoid permanent misalignment and subsequent rework.
- Dropping the headliner carefully and routing wiring through factory grommets reduces installation errors and prevents future leaks.
- Sealing all drilled holes with automotive silicone and allowing proper cure time greatly minimizes water infiltration risks.
- Following safety and legal guidelines, such as using sealed DOT-compliant kits, ensures compliance and protects against water damage and electrical faults.
Table of Contents
- How Do You Install Cab Lights Step by Step?
- Tools, Materials, and Kit Checklist
- How Do You Measure and Mark the Roof for Cab Lights?
- How Do You Access the Wiring Behind the Headliner?
- Drilling and Mounting the Cab Lights
- Wiring the Cab Lights: Circuits, Fuses, and Switches
- Sealing, Testing, and Putting It Back Together
- What Do Experienced Installers Say About Common Mistakes?
- Quick Legality and Safety Notes
- Why We Recommend DOT-Compliant, Sealed Kits for This Job
- Find the Right All Star Truck Parts Kit for Your Install
- Sources
How Do You Install Cab Lights Step by Step?
Here’s the full sequence in order, with rough time blocks so you can plan your afternoon:
-
Pick your kit and confirm fitment (10 minutes). Match the light housing to your cab profile and lens color before you touch a drill.
-
Measure and mark the roof (15 to 30 minutes). Find center, tape off your spacing pattern, and photograph the layout before committing to it.
-
Drop the headliner (30 to 90 minutes). Time varies a lot by cab style. Some trucks need only a partial drop; others need the whole front section down.
-
Drill and mount the housings (45 to 90 minutes). This includes center-punching, drilling, deburring, and torquing hardware.
-
Wire the harness (30 to 60 minutes). Route the two-wire circuit, crimp connections, add the fuse, and tie into your power source.
-
Seal every hole (10 minutes of work, 24 hours of cure time). Silicone goes on before you call it done.
-
Test and reassemble (20 to 30 minutes). Power up, check for leaks, then put the headliner and trim back where they belong.
If you’re not ready to drill, a 3M adhesive wireless kit lets you skip steps 3 through 5 almost entirely. It mounts in under 30 minutes with no wiring and no headliner work, though it’s a shorter-term solution better suited to leased trucks or seasonal styling than a permanent build.
Tools, Materials, and Kit Checklist
Gather everything before you start. Digging through a toolbox mid-install with a headliner hanging loose is how mistakes happen.
- Drilling: center punch, 7/8" step bit for wire grommet holes, 1/4" bit for stud holes, a knockout punch if your kit calls for one
- Electrical: multimeter or test light, wire strippers, crimp connectors, heat shrink tubing, an inline fuse holder, and a relay if you’re running more than a couple of lights
- Sealing and hardware: automotive-grade silicone, rubber grommets sized to your wire bundle (5/16" slots are common), nylock nuts, stainless fasteners, zip ties, and painter’s masking tape
Amber marker kits with sealed housings, like the 12-LED flange mount kit built for Freightliner Cascadia cabs, are designed around drilled mounting, so the gasket and hardware already match this process.
Pro Tip: Buy an extra 10 feet of primary wire even if the kit includes a harness. You’ll want the slack for rerouting around obstacles you can’t see until the headliner’s down.
How Do You Measure and Mark the Roof for Cab Lights?
Get your reference points right and everything else falls into place. Most installers start from the windshield’s top molding line or the third brake light, since both sit dead center on nearly every cab.
- Mark true center first using a tape measure from both A-pillars.
- Lay out a spacing pattern, such as center, then 8 inches out, then 13 inches out for the outer lights, as one common example pattern from installer documentation.
- Confirm the pattern against your kit’s own template before drilling anything.
- Use painter’s tape and a dry-erase marker to draw positions directly on the tape, not the paint.
- Set the lights on the tape dry (no adhesive, no screws) and photograph the roof from straight on to check symmetry.
Installer guides consistently point to the same root cause of botched jobs: drilling before confirming the layout visually. A crooked light is permanent the moment the bit touches metal, so the photo check matters more than it sounds like it should. Stand back 15 feet, look at the truck the way anyone on the road will see it, and only then reach for the drill.
How Do You Access the Wiring Behind the Headliner?
Getting to the wiring means dropping part of the headliner, and the order you remove things in determines whether you get everything back together without a rattle.
- Remove the sun visors first. Most use a Torx or Phillips screw hidden under a plastic cap.
- Pull the grab handles next. They usually pop off with a trim tool once you find the hidden clip.
- Drop the overhead console or dome light housing, disconnecting any wiring for map lights, OnStar microphones, or garage door openers as you go.
- Release the headliner’s retaining clips along the front edge, working slowly since these clips are often brittle on older trucks.
- Drop the headliner just enough to reach behind the roof skin. You don’t need it fully out. A few inches of clearance, propped with a rolled towel or a helper’s hands, is usually enough.
If your cab has an OEM harness pocket or a pillar grommet already, route your new wiring through that instead of forcing a new path. Factory harnesses often run right along the path you need. iFixit’s teardown guide walks through this exact lower-and-route sequence and is worth a look if your cab has an unfamiliar console layout. Trucks with lighted vanity mirrors need extra care. That wiring runs through the same headliner channel, and it’s easy to pinch if you’re rushing.
Drilling and Mounting the Cab Lights
This is the step with zero do-overs, so slow down here more than anywhere else.
- Drill through the masking tape you marked earlier. It keeps the bit from skating on painted metal.
- Use a 7/8" step bit for the wire grommet hole and a smaller 1/4" bit for stud or screw holes, dimensions RECON’s own installation documentation lists as typical for many kits.
- Vacuum metal shavings out of the hole immediately. Shavings left in the roof cavity cause rattles and, worse, can short a wire down the line.
- Seat the gasket evenly before tightening. A light that’s snugged down crooked will let water in on one side even with a perfect gasket.
- Tighten nylock nuts and washers until the gasket compresses evenly, not until you feel resistance stop. Overtightening cracks plastic housings.
- Feed the pigtail through the grommet before final tightening so you’re not fighting stiff wire once the light is bolted down.
Pro Tip: A thin bead of silicone on the screw threads, applied before you drive the screw in, gets forced into the threads as you tighten and seals the hole from the inside out. It’s a small step that catches leaks a surface bead alone would miss.
Route the pigtail wire so it doesn’t rest against a sharp metal edge inside the roof cavity. A grommet at every pass-through point prevents the vibration-driven chafing that eventually wears through insulation and grounds a circuit against the cab frame.
Wiring the Cab Lights: Circuits, Fuses, and Switches
Five lights on one circuit is a straightforward parallel wiring job, and getting the sequence right up front saves you from re-threading wire later.
- Build a two-wire harness (power and ground) that runs the width of the cab, with a short pigtail splice at each light location.
- Wire every light in parallel off that main run, not in series. Series wiring dims each light as you add more to the circuit.
- Tap power from the parking or running light circuit, since that’s the circuit your new marker lights are meant to mirror.
- Add an inline fuse between your tap point and the harness. Manufacturer install documentation recommends this specifically to prevent an overload on the factory circuit, and a relay is worth adding if you’re running more than five lights or higher-draw LEDs.
- Route the harness down the A-pillar toward the fuse box, keeping it clear of moving parts like the steering column and pedal linkage.
- Coil any extra wire and zip-tie it to a fixed point rather than cutting it to length. iFixit’s install notes call this out specifically for future serviceability, and it’s the difference between a five-minute fix later and pulling the headliner down again.
If you’d rather not tap into the factory wiring at all, an inline switch mounted on the dash gives you manual control and isolates the new circuit completely. It costs you a dash-mounted switch and a slightly longer wire run, but it means a wiring fault in your cab lights can never affect your factory running lights. Tying into the headlight circuit instead is simpler and turns the lights on automatically with your headlights, but any short in that circuit now touches wiring you can’t easily isolate. For a first install, the dedicated switch is the safer learning path.
Check every connection with a multimeter or test light before you close anything up. A momentary connection that reads fine sitting still can fail once the truck’s vibrating down the highway.
Sealing, Testing, and Putting It Back Together
Leaks are the number one comeback problem in cab light installs, and nearly all of them trace back to a rushed sealing step.
- Run a bead of silicone under the gasket edge on every housing, not just the ones that look like they need it.
- Give the silicone a full 24 hours to cure before you spray water anywhere near it.
- Power everything on before reassembling trim. Check voltage at each light under load, not just at the harness connector.
- After the cure window, run a hose over the roof and check the headliner from inside for any drip or discoloration.
- Reassemble the headliner in reverse order: console first, then grab handles, then visors, checking that no wire got pinched behind a clip.
Forum threads on cab light installs point to the same failure pattern over and over: inadequate sealing around the screw holes, not bad wiring, causes most post-install leaks. A little extra silicone at this stage is cheap insurance against pulling the headliner back down in six months.
What Do Experienced Installers Say About Common Mistakes?
The recurring theme across install forums and repair guides is that almost every failure traces back to skipping the boring parts.
- Measure twice, drill once. This isn’t a cliché here; it’s the actual failure point in most botched installs.
- Grommet every wire pass-through, even ones that look like they’ll never rub against anything. Vibration finds the spots you didn’t think about.
- Fuse every tap point, no exceptions, even on a “just one extra light” job.
- Label your harness connections before you close up the headliner. Six months from now, you won’t remember which wire went where.
- Leave a service loop of extra wire coiled near an access point rather than cutting everything flush.
Older cab designs are notorious for brittle headliner clips that snap if you pull straight down instead of releasing them at an angle. If you feel real resistance, stop and look for a hidden screw before you force it.
Pro Tip: Take a photo of your wiring layout before you close the headliner back up. Cheap insurance if a light fails next year and you need to trace the circuit without tearing everything apart again.
— All
Quick Legality and Safety Notes
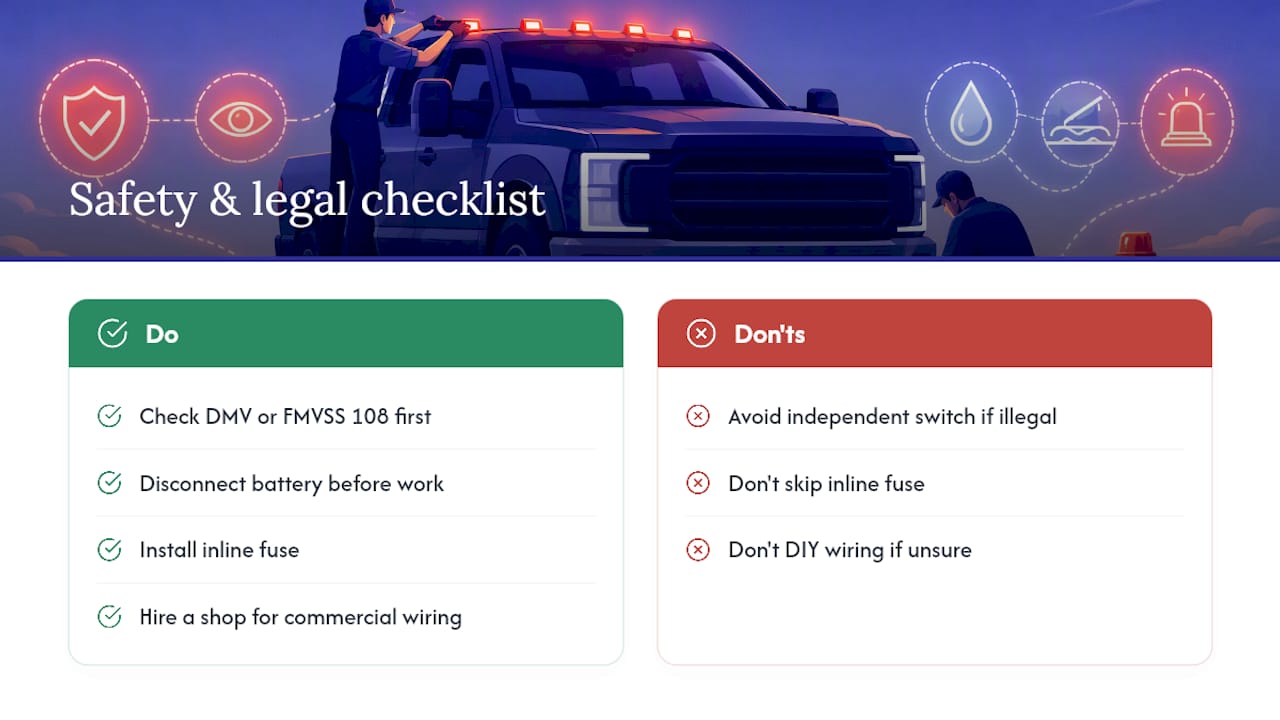
Most states require cab marker lights to show amber to the front and sides, or amber and red depending on position, and many require them wired to your running or parking light circuit rather than an independent switch. Rules vary enough by state that it’s worth a quick check with your local DMV or a look at Federal Motor Vehicle Safety Standard 108 before you finalize your wiring approach.
Always disconnect the battery before working on any circuit you’re tapping into, and never skip the inline fuse to save five minutes. A short in an unfused marker light circuit can take out wiring well beyond the lights themselves.
If you’re not confident reading a wiring diagram or you’re working on a commercial vehicle where compliance actually gets inspected, hire a shop for the wiring portion. The mechanical mounting is forgiving. The electrical side is not.
Why We Recommend DOT-Compliant, Sealed Kits for This Job
Cab lights live in the worst spot on the truck: full sun, full rain, constant vibration from the roof panel. A housing that isn’t genuinely sealed will fail there faster than almost anywhere else on the vehicle.
Grommeted wire entry and a proper gasket do more than pass an inspection. They’re what keeps water from tracking down into the headliner months after the silicone bead you applied has taken its first real freeze-thaw cycle.
Find the Right All Star Truck Parts Kit for Your Install
Once you know your measurements and mounting style, matching a kit is the easy part. For flange-mount replacements on Freightliner Cascadia cabs built between 2008 and 2019, the 12-LED amber cab marker kit is a direct fit for the flange dimensions covered in this guide’s drilling section.
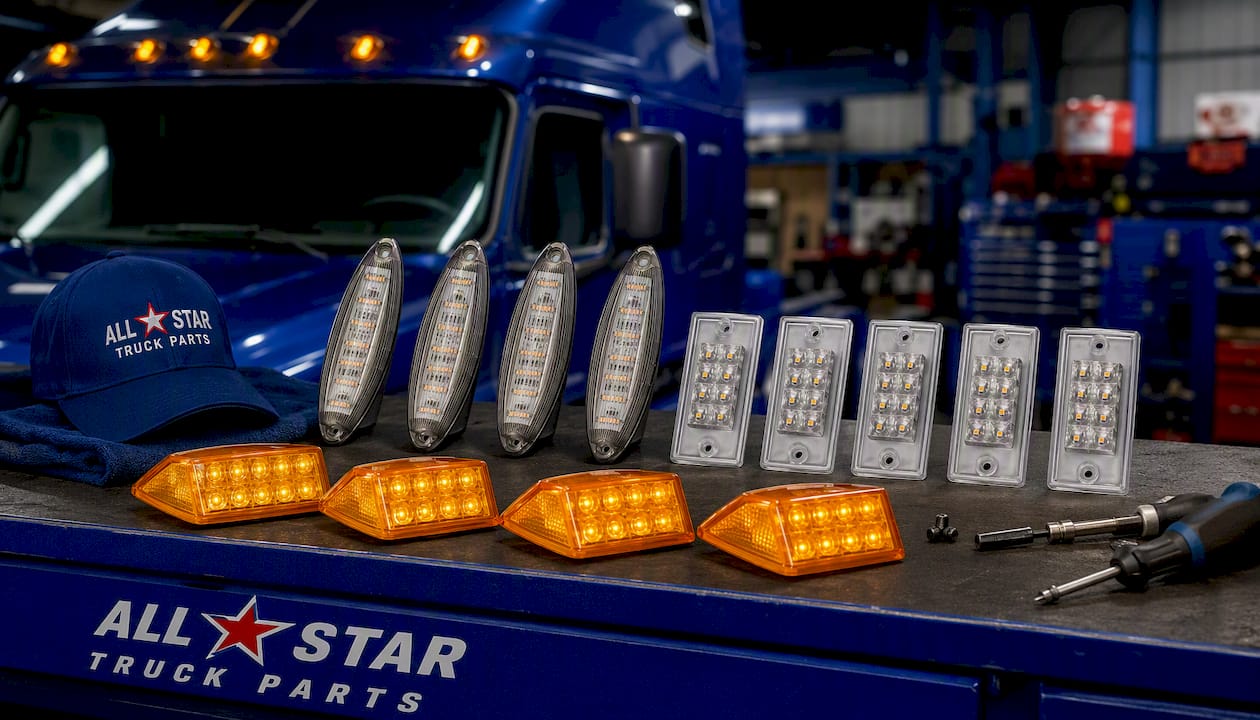
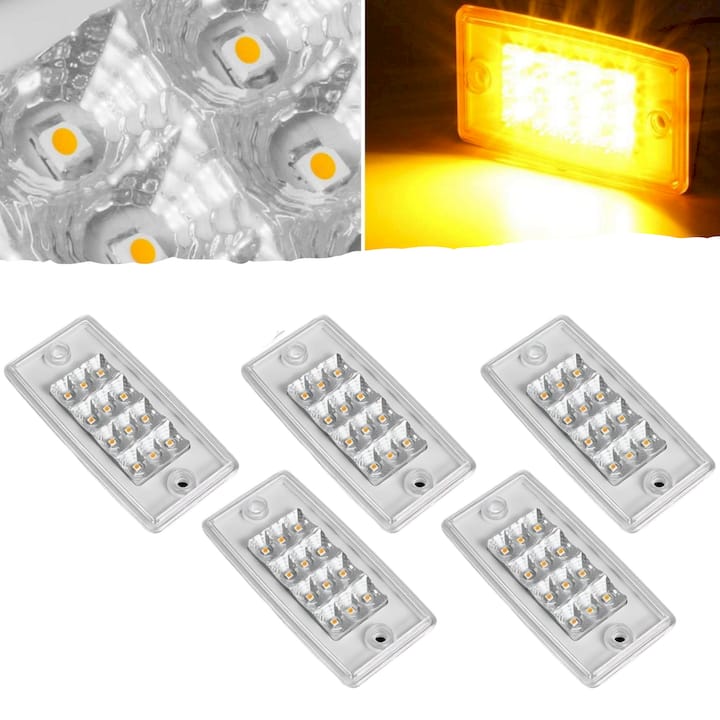
If your cab has the rectangular clearance-light footprint common on Freightliner Century and Columbia models, the sealed waterproof rectangle kit gives you the same sealed gasket approach at a rectangular profile. For heavier-duty commercial trucks and trailers across Kenworth, Peterbilt, Mack, and International, the 17-LED DOT-rated clearance kit is built for the compliance standards that come up when a commercial vehicle gets inspected.
Before you buy, check three things on any kit: the IP rating printed on the listing, whether a wiring harness and mounting hardware are actually included, and whether the kit expects a separate fused lead or ships with one built in. Matching those details to the drilling and wiring steps in this guide is what keeps the job a one-weekend project instead of a return trip to the parts counter. Browse the full cab light lineup to find the profile that matches your cab.
Sources
For model-specific measurements and harness part numbers beyond what’s covered here, iFixit’s repair guide and RECON’s installation PDF both go deeper into specific cab layouts. If your truck is still under warranty or uses an unfamiliar harness routing, check your vehicle’s service manual or call your dealer for OEM wiring diagrams before you start drilling.
- 2008+ Ford Super Duty Cab Light Installation - Blue Oval Trucks
- Installing Truck LED Roof Cab Lights - iFixit Repair Guide
- RECON installation instructions (installation PDF)
- How to Install Truck Cab Lights: A Step-by-Step Guide & Legal Requirements - AUXITO
Recommended
Related Lighting & Accessories


- $ 26.50
$ 49.95- $ 26.50 Save $ 23.45
- Unit price
- per


- $ 34.50
$ 59.95- $ 34.50 Save $ 25.45
- Unit price
- per


- $ 29.95
$ 49.95- $ 29.95 Save $ 20.00
- Unit price
- per
